Home Lift Installation Time: From Site Assessment to Handover
Home Lift Installation Time: Putting a lift in your home is a big decision. It makes daily life easier, helps with mobility, and adds comfort for everyone in the house. But before anything else, most homeowners want to know one thing: how long will it take? Will the house turn into a construction site? And when can you actually start using the lift?
The honest answer is that it depends. The type of lift, your building’s structure, how ready the site is, and what the installation involves all play a part. Knowing what happens at each stage makes it much easier to plan.

1. Home Lift Installation Time: Initial Consultation and Site Assessment
The home elevator installation process begins with a conversation. The team wants to know what you need, so they’ll look at your building, the space available, how many floors you want to connect, how many people will use the lift, and how often.
During the site visit, they check whether your home needs a lift shaft, structural changes, or electrical work. They also work out which lift setup suits your layout best.
Don’t rush this stage. A careful assessment now saves you from surprises and delays later.
2. Lift Selection and Design Planning
Once the assessment is done, you choose the lift itself. Your options depend on the space you have, the look you want, your budget, and how you plan to use it.
The design is then matched to your building’s dimensions and technical needs. A few things to decide at this point:
- Available shaft or installation space
- Number of floors and travel height
- Passenger capacity
- Door configuration
- Interior finishes and design
- Safety and accessibility requirements
When you’ve signed off on the design and specifications, the project moves on to preparation and installation.
3. Civil Work and Site Preparation
Of all the stages, civil work often has the biggest effect on home lift installation time. Depending on your house and the lift you’ve chosen, this might mean building a shaft, cutting openings, reworking existing rooms, or preparing a machine room.
In an existing home, the team has to check the structure carefully before suggesting any changes. If you’re building a new house, it’s far easier, because the lift can be planned into the design from the start.
How long this stage takes depends on how complex the work is and what condition the property is in.
4. Lift Manufacturing and Material Preparation
While your site is being prepared, the lift components are manufactured, assembled, or gathered to match the approved specifications.
The time this takes varies with the lift model, how much customisation you’ve asked for, whether parts are in stock, and the supplier’s schedule. It’s worth asking your installation company upfront how long manufacturing and delivery will take.
Even though nothing is happening at your property yet, this stage is a real part of the overall lift installation timeline.
5. Lift Installation and Assembly
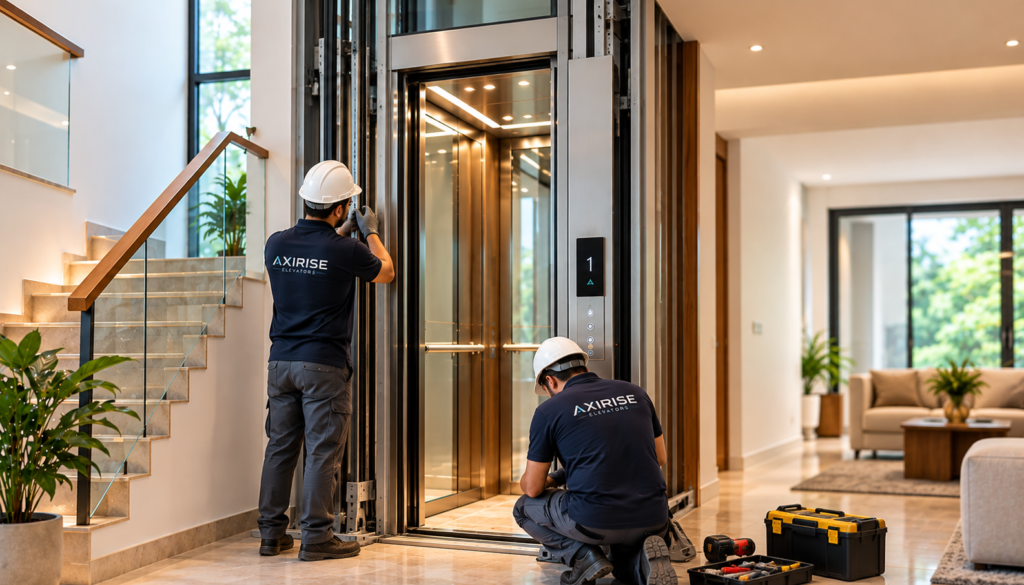
When the site is ready and the components have arrived, the installation itself begins. The technicians put together the lift, fit the guide rails, position the car, and connect the mechanical and electrical systems as per the design.
How long this takes depends on the lift model, the number of floors, the site conditions, and how complicated the job is.
Installation is not a DIY task. Qualified technicians who follow the manufacturer’s instructions and the relevant safety requirements should always do it, because smooth operation, reliability, and your family’s safety depend on it.
6. Testing, Inspection, and Safety Checks
A lift that moves isn’t necessarily a lift that’s ready. Before handover, it has to go through proper testing and safety checks.
These can cover door operation, levelling accuracy, control systems, emergency communication, safety devices, and overall performance. If anything turns up, it gets fixed before you start using the lift.
Which inspections and approvals you need depends on local regulations and the requirements of your project.
7. Final Handover and User Guidance
The last step is the handover. The team should walk you through how to operate the lift, the safety precautions, what to do in an emergency, and how to keep it maintained.
You should also receive the relevant documentation, warranty details, and maintenance information.
Taking a few minutes to learn how the lift works makes it safer and more comfortable for everyone who uses it.
How Long Does Home Lift Installation Take?
There’s no single answer that fits every home. A simple project on a site that’s ready to go can take far less time than one that needs structural changes or custom components.
Here’s what shapes the overall timeline:
- Lift type and design
- Building structure and site readiness
- Civil and electrical preparation
- Manufacturing and delivery schedules
- Number of floors
- Testing and inspection requirements
Instead of relying on a general estimate, ask your installation company for a schedule tailored to your project.
Plan Your Home Lift Installation with Confidence
A good home lift project is about more than fitting equipment. It takes proper assessment, careful planning, skilled installation, and thorough safety checks.
At Axirise Elevators, we help homeowners understand what they need and plan the right elevator for their property. Before you begin, talk through your building layout, your requirements, and your preferred schedule with an experienced team.
Planning a home lift installation? Contact Axirise Elevators to discuss your requirements and take the first step towards a more convenient home.